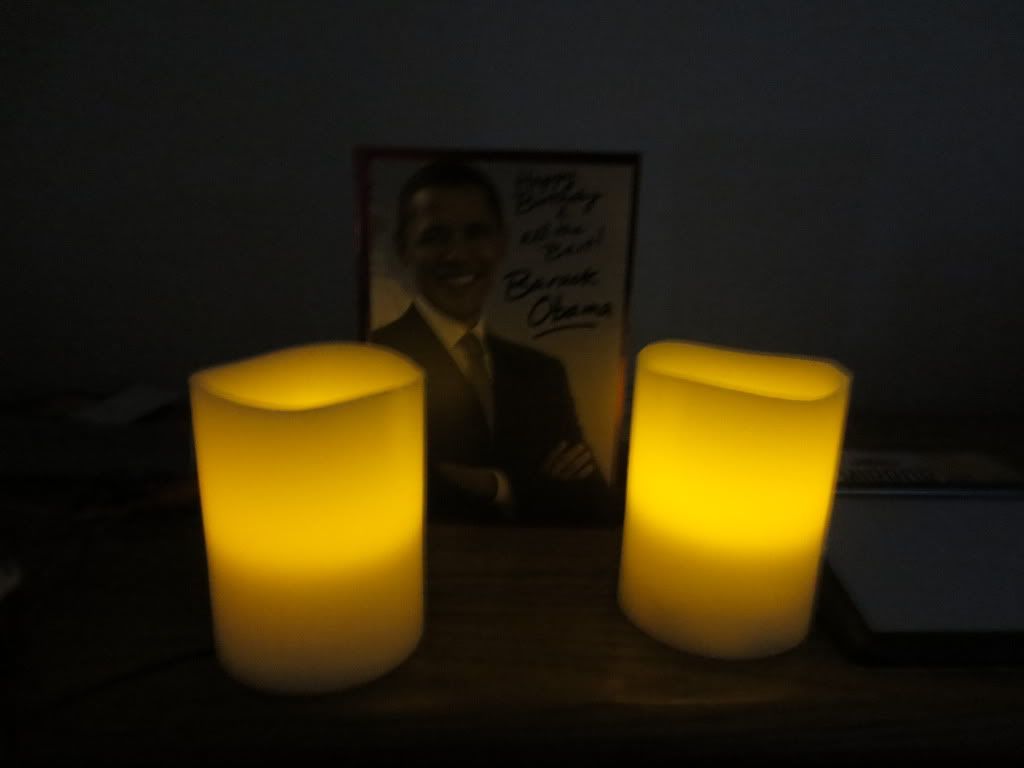
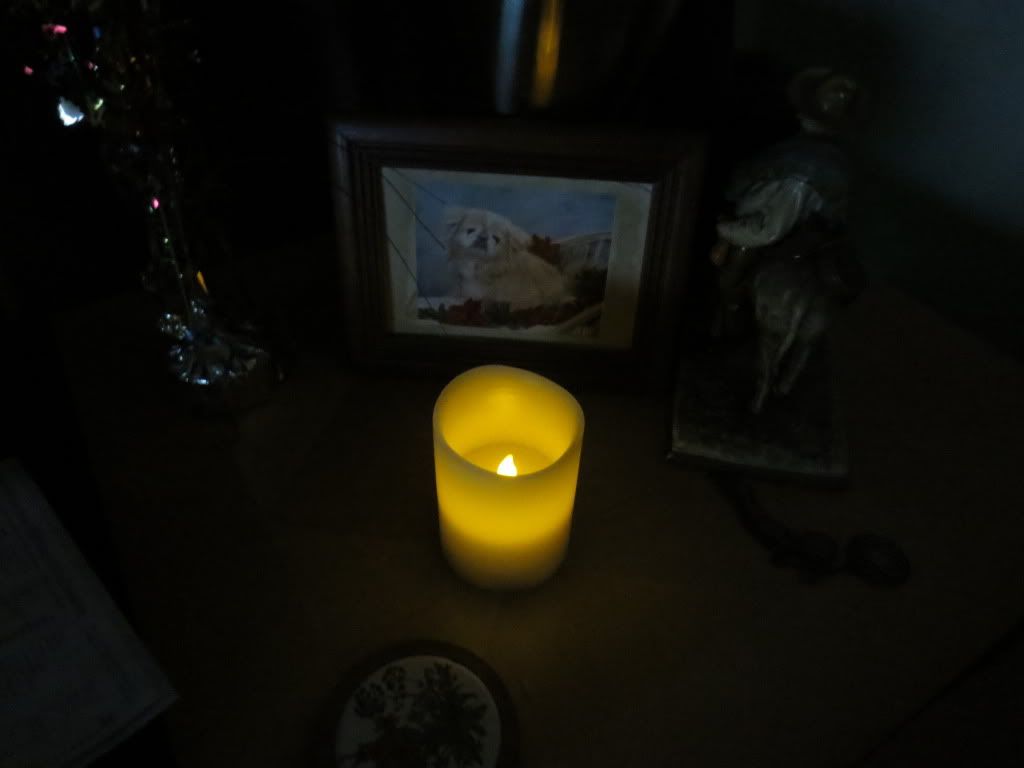
Bought a pair of flickering LED candles made from real wax.
A test button circuit with battery built into the packaging allows store customers to test them:
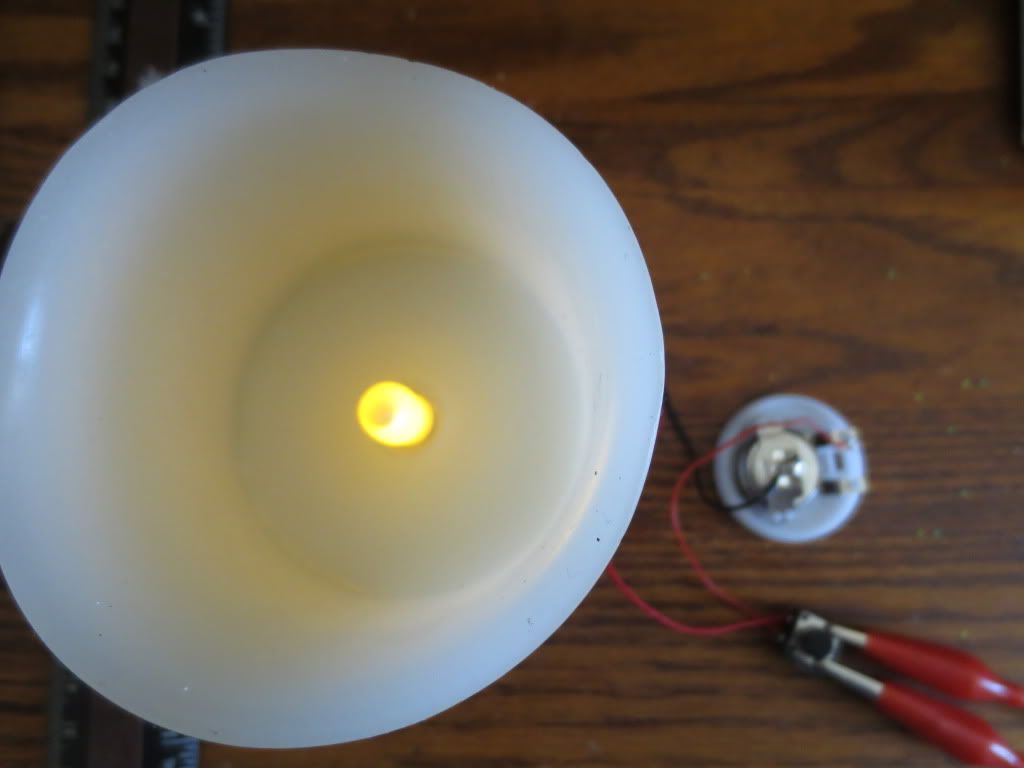
I removed the test battery and button from the package base and jumpered the normally open pushbutton for the photos:
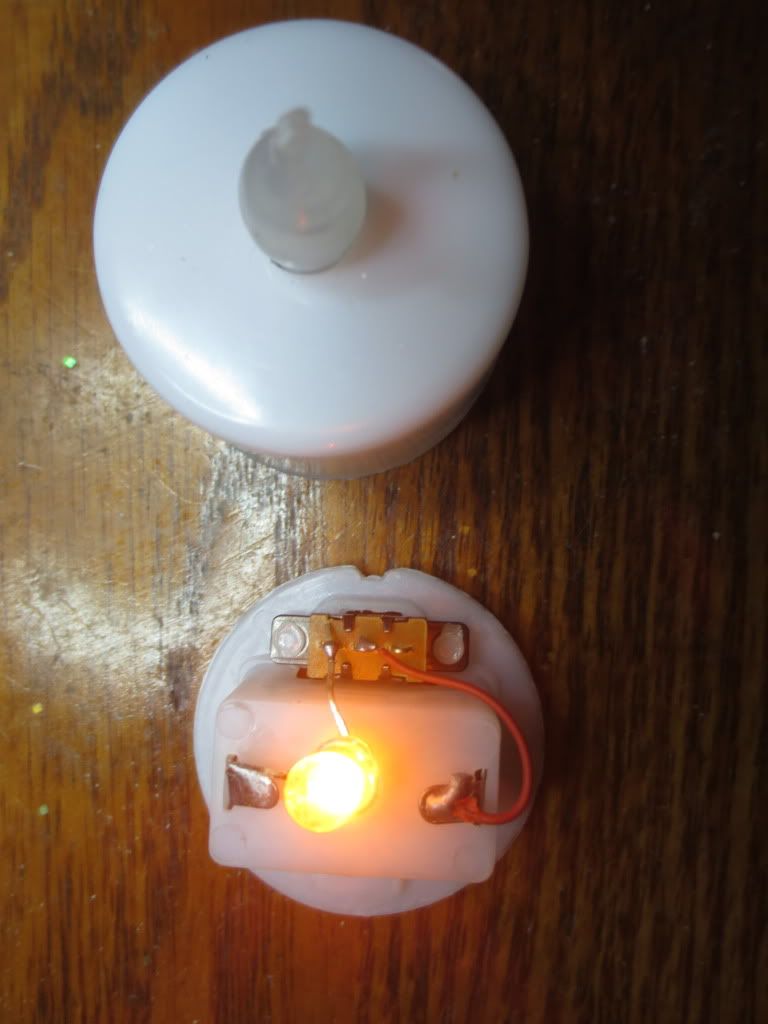
The candle center has a flame that the LED is inserted into from the bottom. It looks fake, but burned down candles don't show
it much anyhow.The candles with the white plastic wicks on top look less realistic than candles that have burned down some.
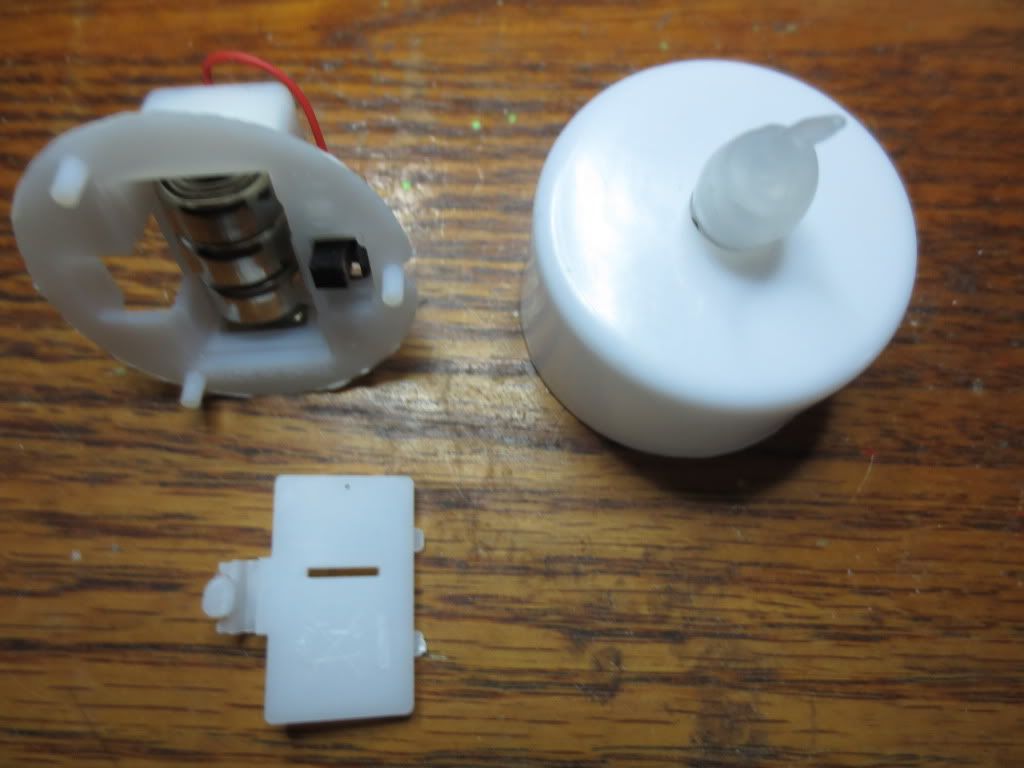
I was able to unsnap the bottom 3 AAA battery holder from the candle wax using a long flat screwdriver inside of the
battery cover flap opening on the right side. Insert the blade and push downward on the handle to lift it out of the base:

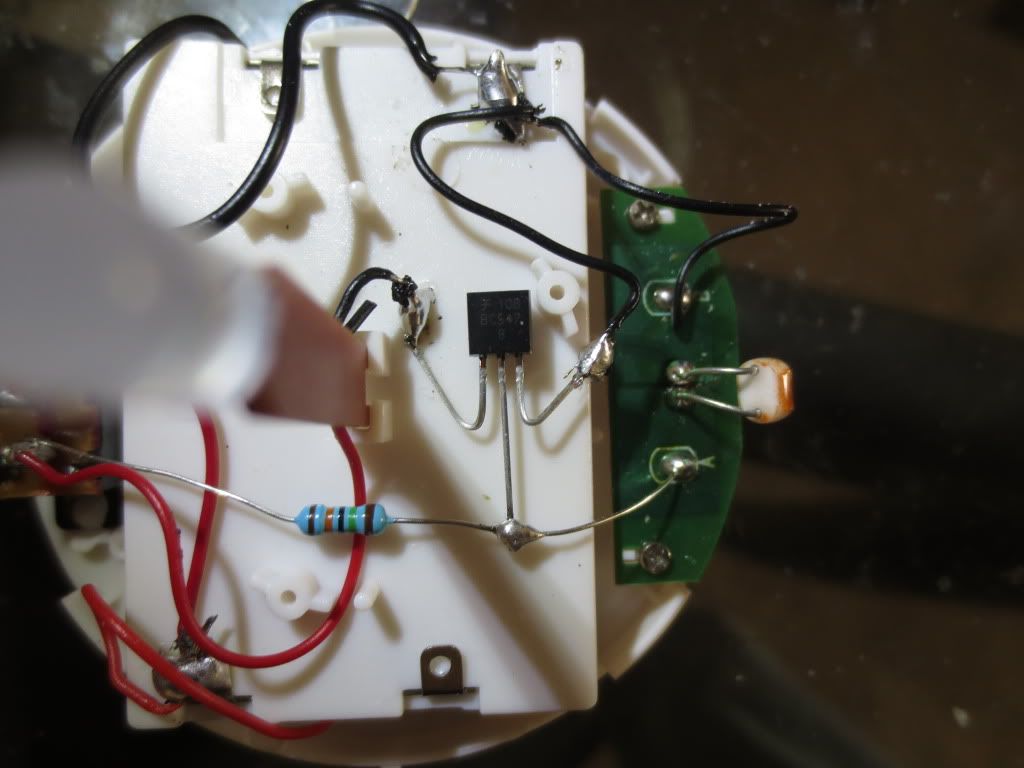
The flickering LED and resistor are on a long mica circuit board. The flickering must be done inside of the LED itself.
The flickering looks pretty realistic! The 3 AAA batteries will use the SPDT slide switch at the bottom.
Note that there are unused battery connection tabs that could be used to only use 1 or 2 AAA batteries also.
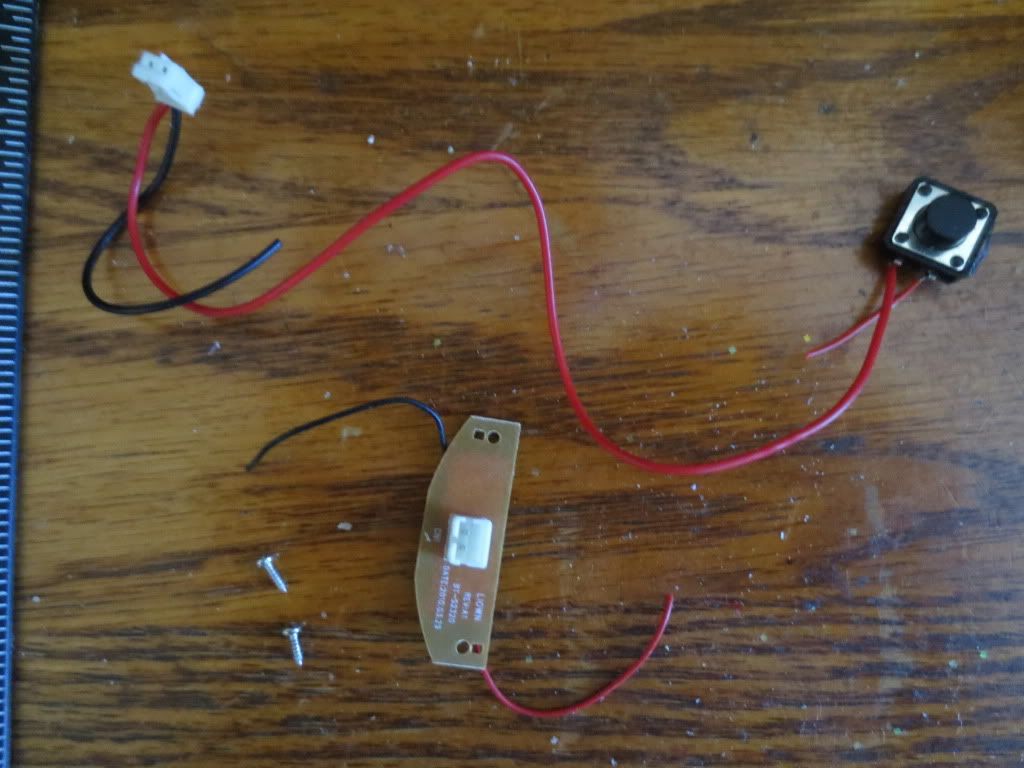
These test circuit components built into the display package can be discarded or used for other purposes later:

The green circuit board on the left holds the male part of the test plug wiring and is mounted with 2 small Phillips screws.
The CR2032 3 volt battery holder, the female connector wire and normally open push button can be recycled too.
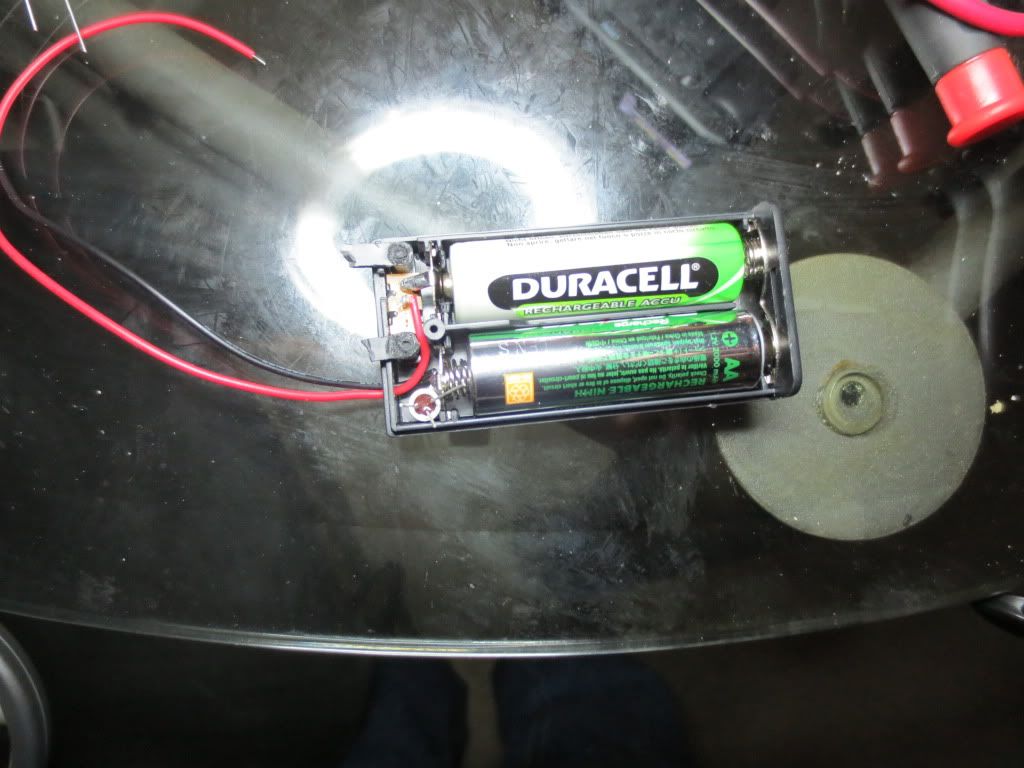
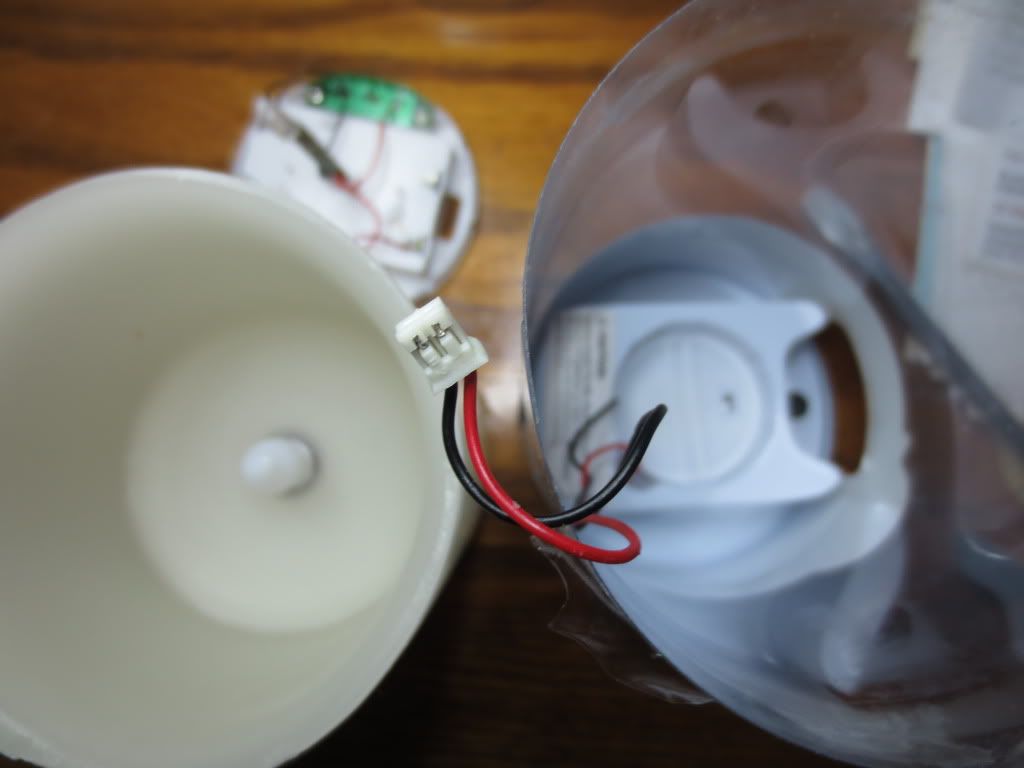
I decided to use the CR2032 battery instead of the 3 AAA batteries by wiring it through the slots for the cover plate:
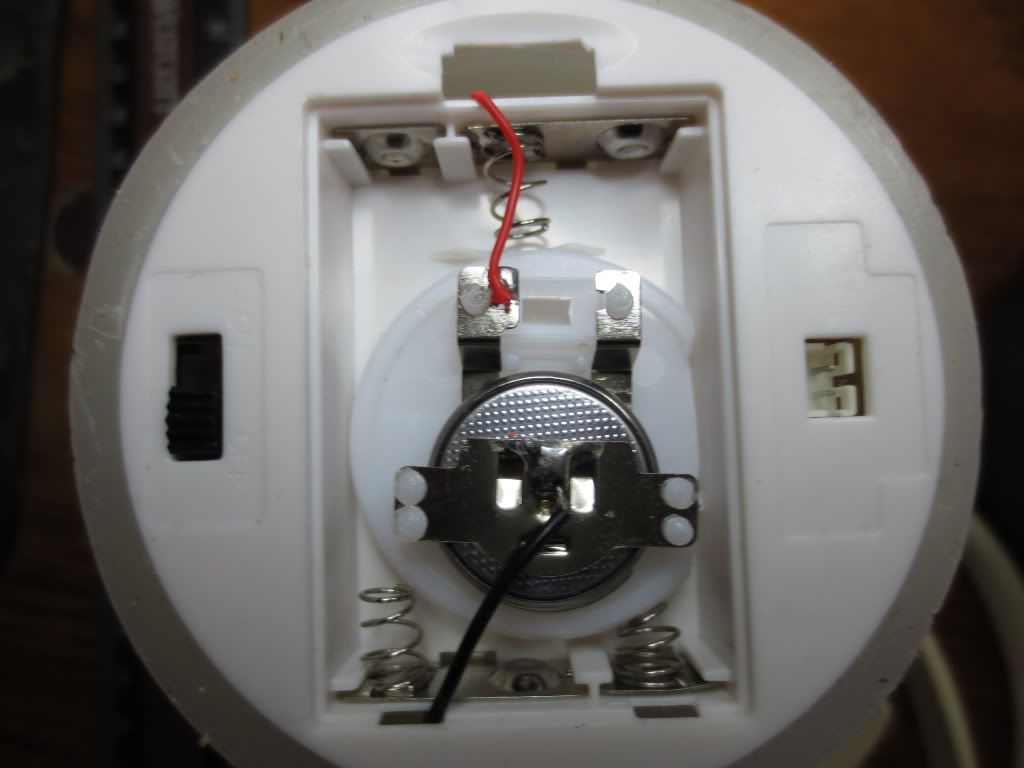
I had to cut off part of the round battery base plate and connected the red and black wires to the corresponding wires on the AAA
battery springs internally.
The candle is notched near the large (top) battery cover opening when reinserting the base.
The springs help hold it in place. The battery cover can still be put on by inserting it carefully with the two wires in the slots.
Wiring the 3 volt battery to the AAA battery wires also allows it to be switched off. It can later be removed by just cutting
the wires without having to tear it apart again when switching back to AAA batteries.
Depending on how long the CR2032 battery lasts, these parts were left over for other projects:
Typical CR2032 batteries last 190 to 225 mah while AAA NiCd last from 300 to 500 ma hours.
NiMH and Alkaline AAA last 600 to 1200 ma hours. 20 of each cost about the same on Amazon.
But since we need 3 AAA batteries for every one 3 volt cell, AAA cost 3 times as much per candle.
Perhaps the AAA are brighter at 3.6 to 4.5 volts...
This is the display package base with a warning for disposal of the test battery along with battery installation instructions:
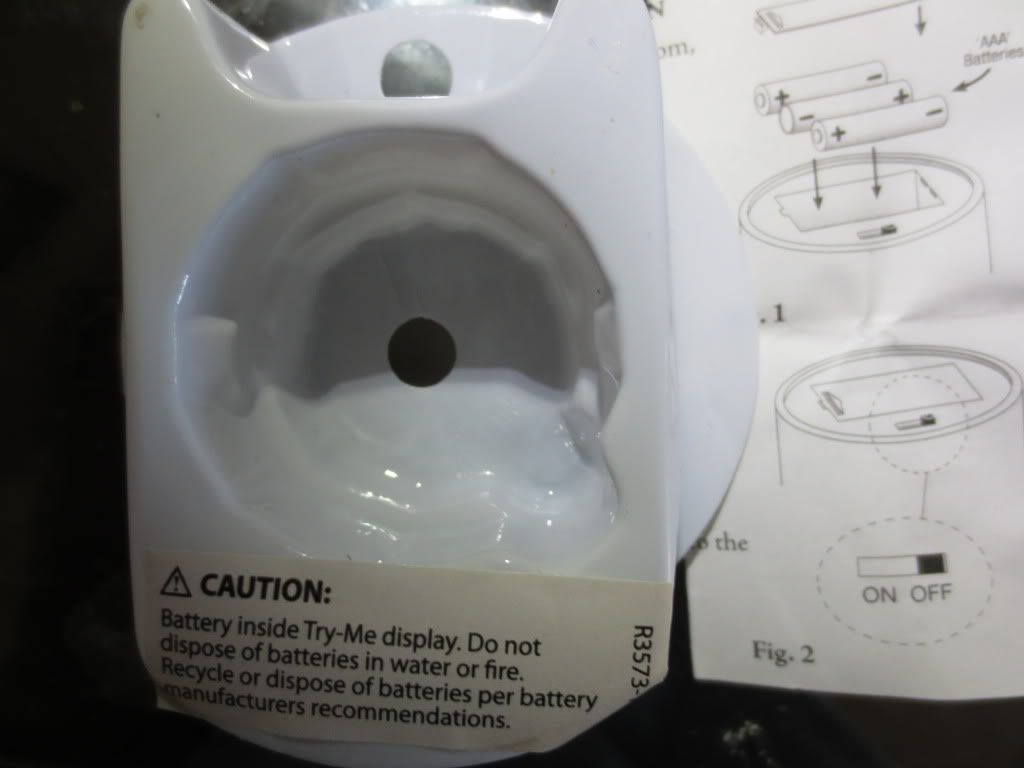
With the circular battery holder inserted upside down, it was really hard to tell that there was a battery inside of there!
The test push button must have been wired after the battery was inserted as I had to cut the display base to get it out.
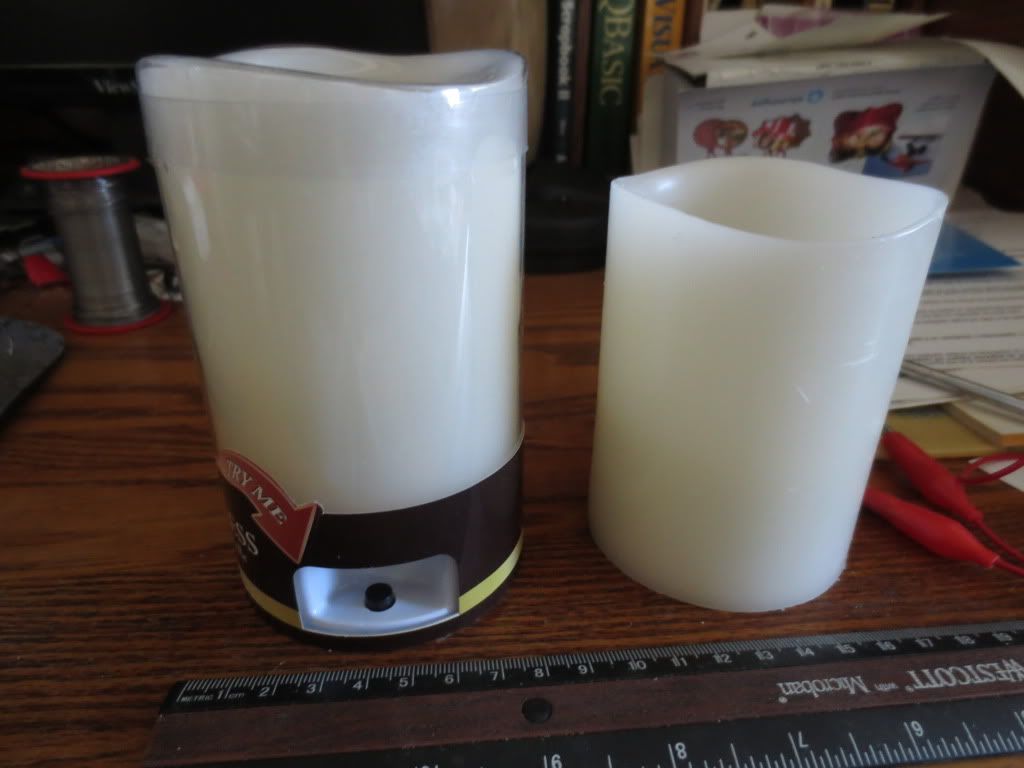
The second candle's display package was harder to remove the battery and button from:
They were apparently made to stay in there! Note how fake the white flame looks when the LED is off.
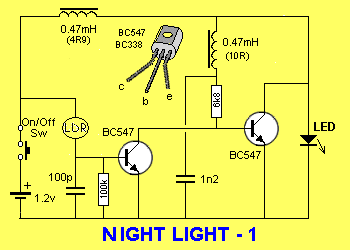
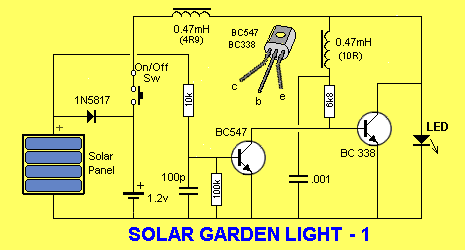
This may be a good project to try a single battery LED coil circuit on. That depends on how well it will flicker.
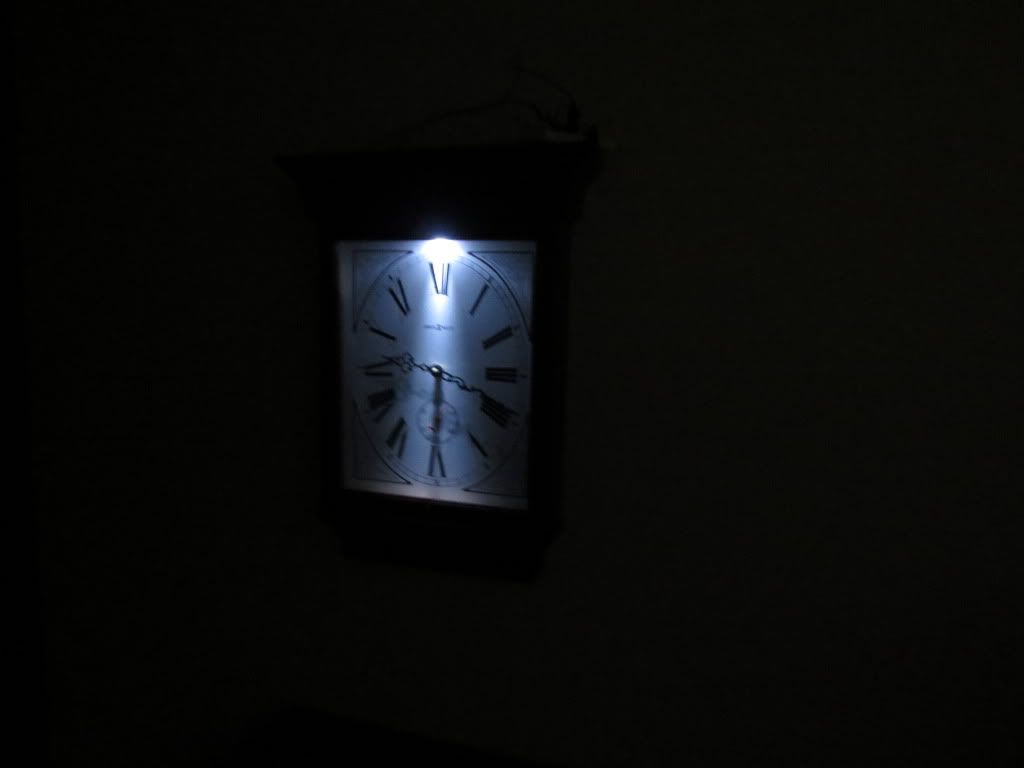
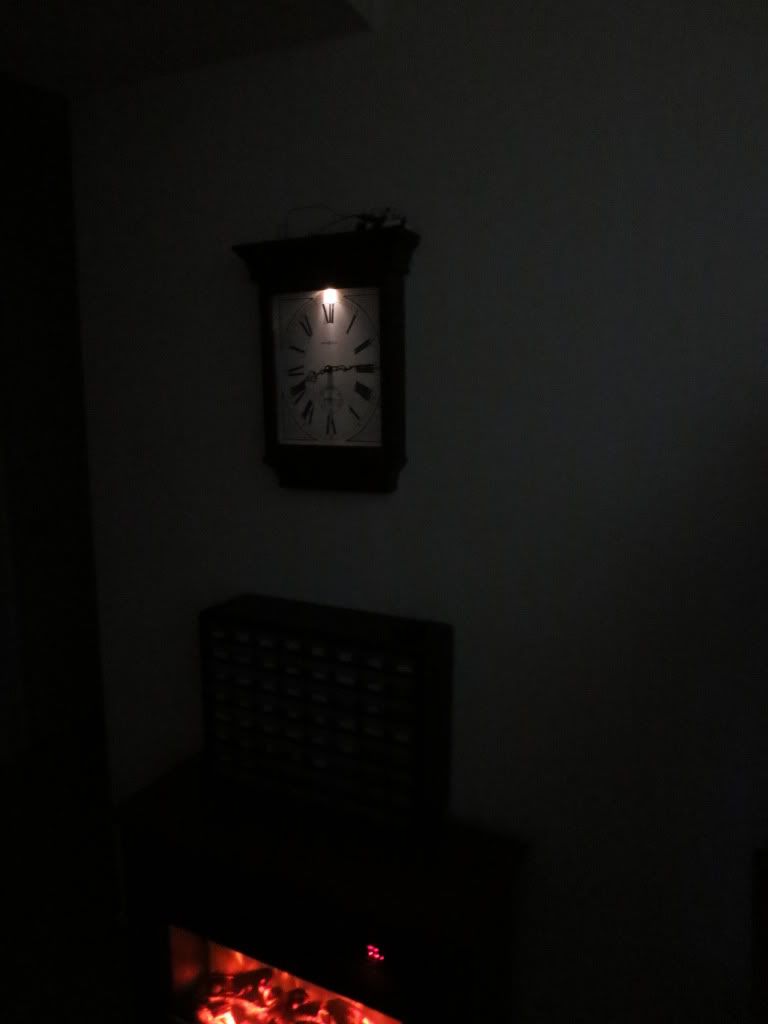
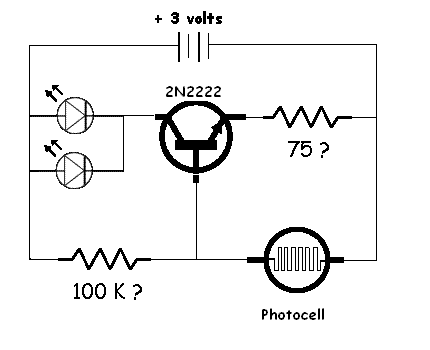
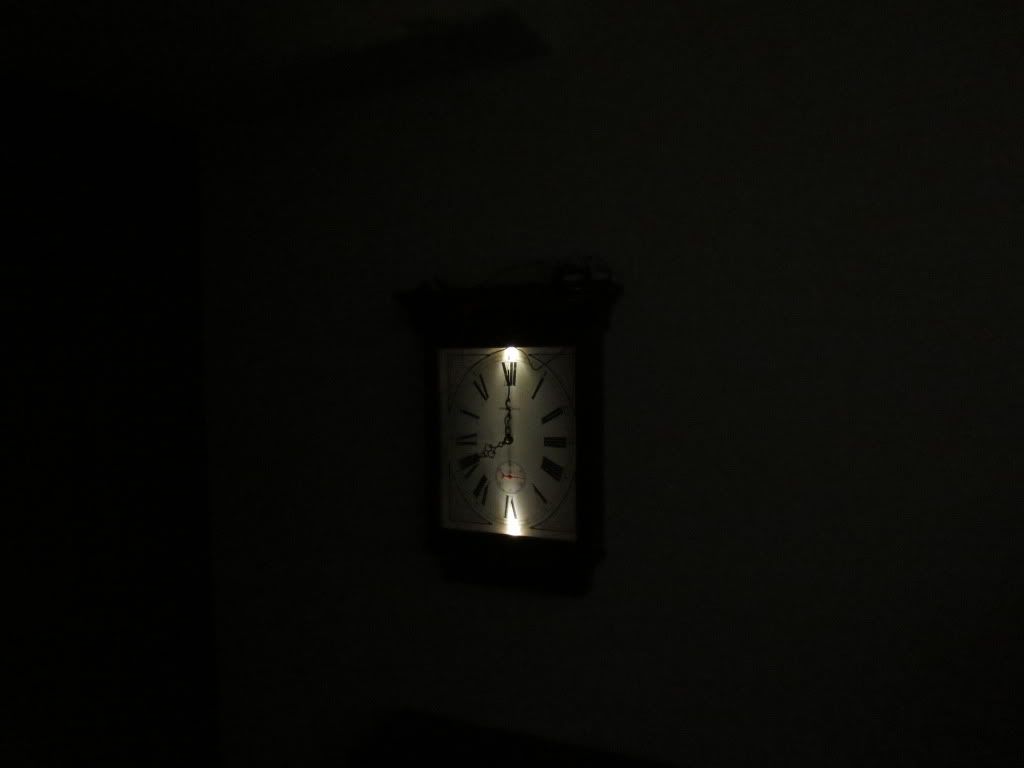
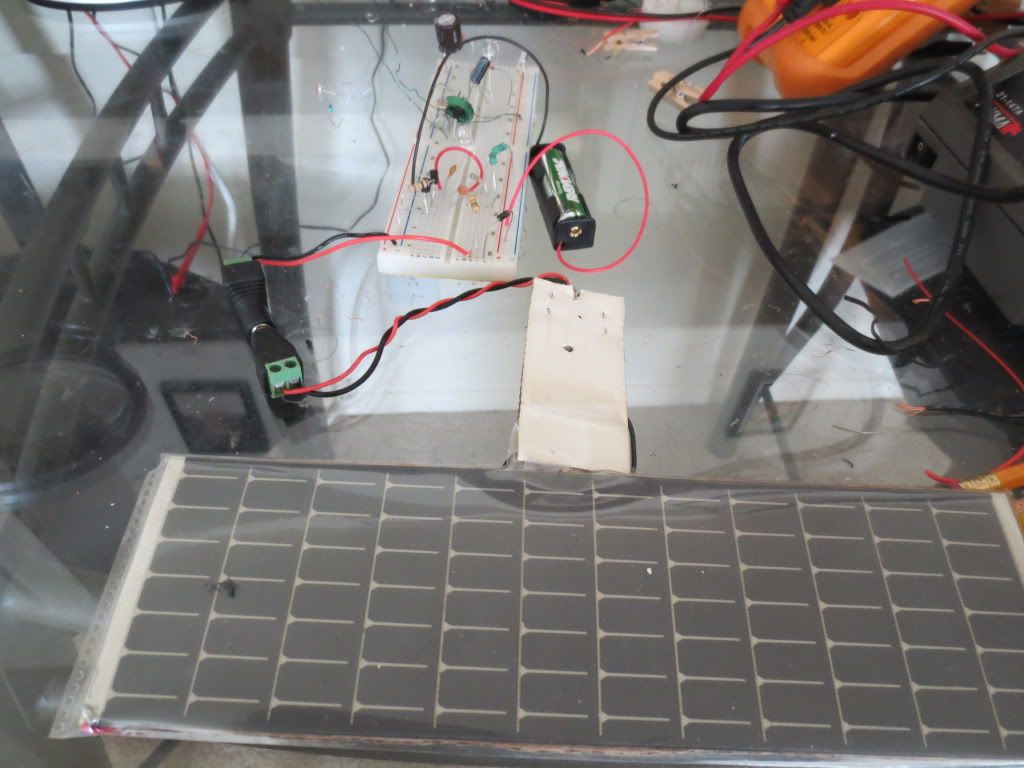
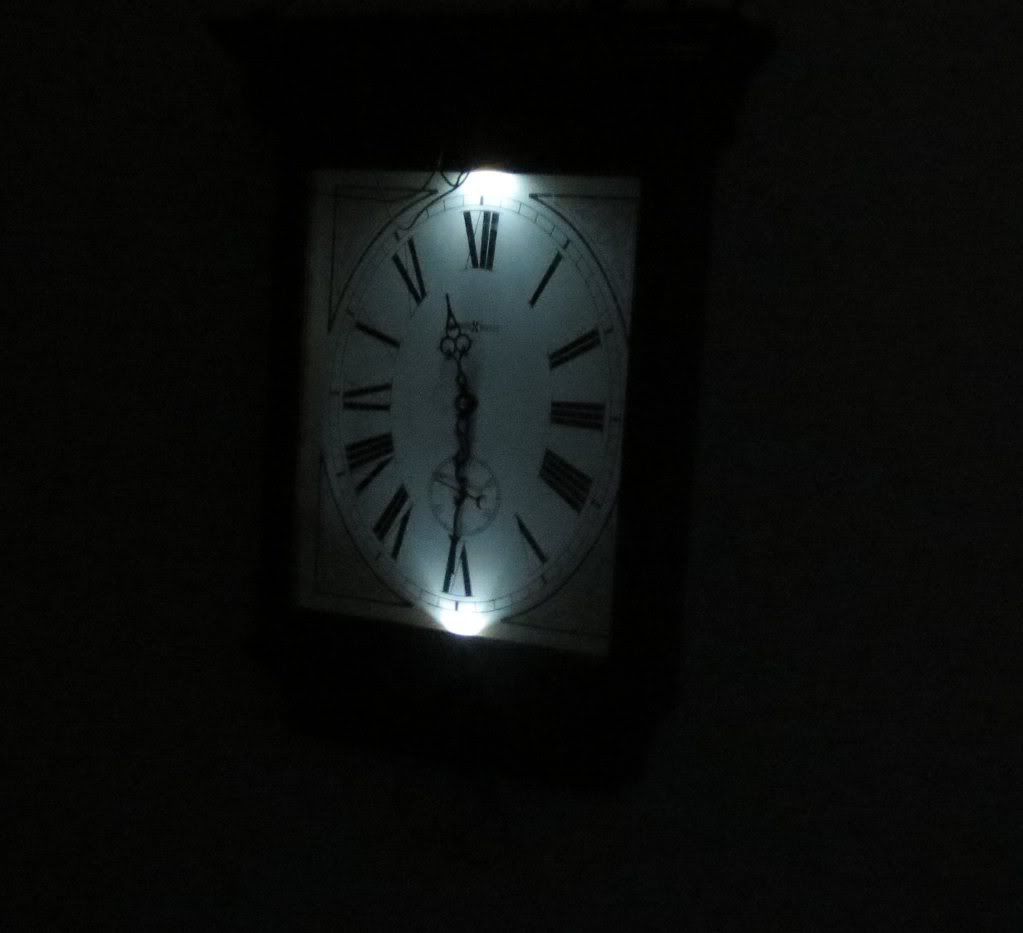
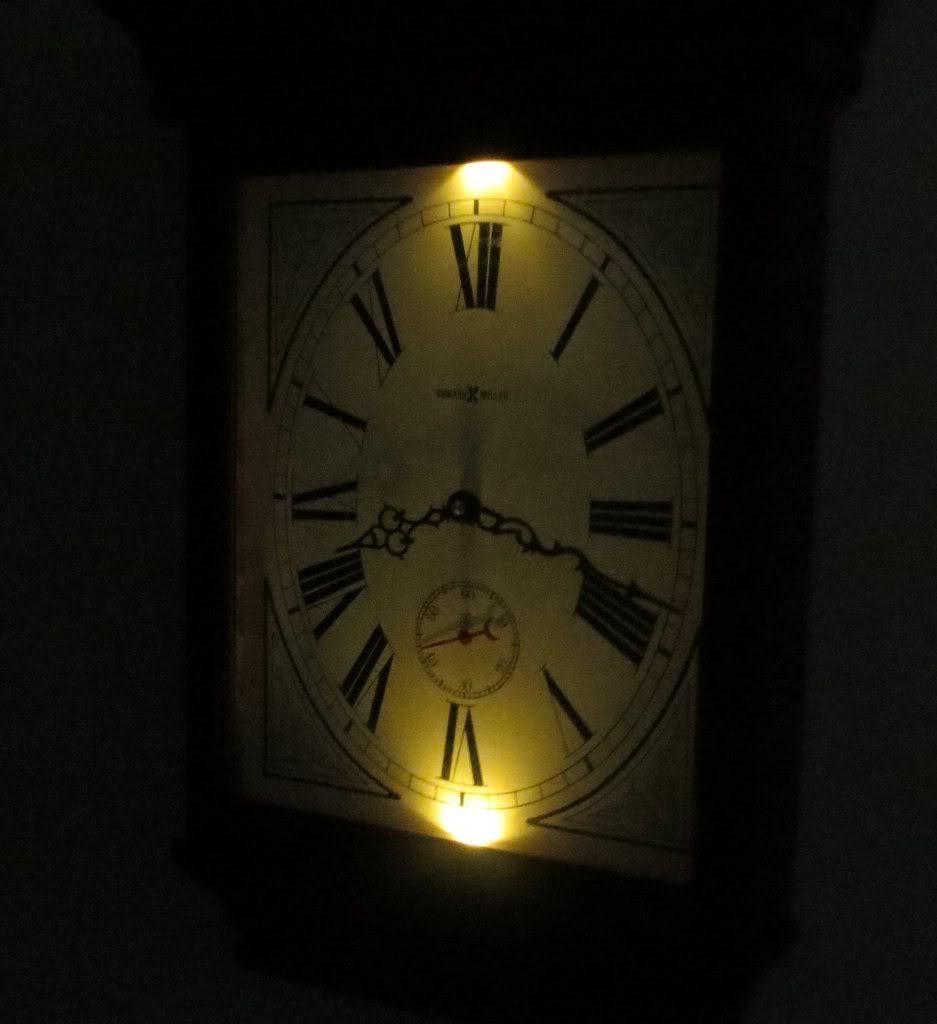
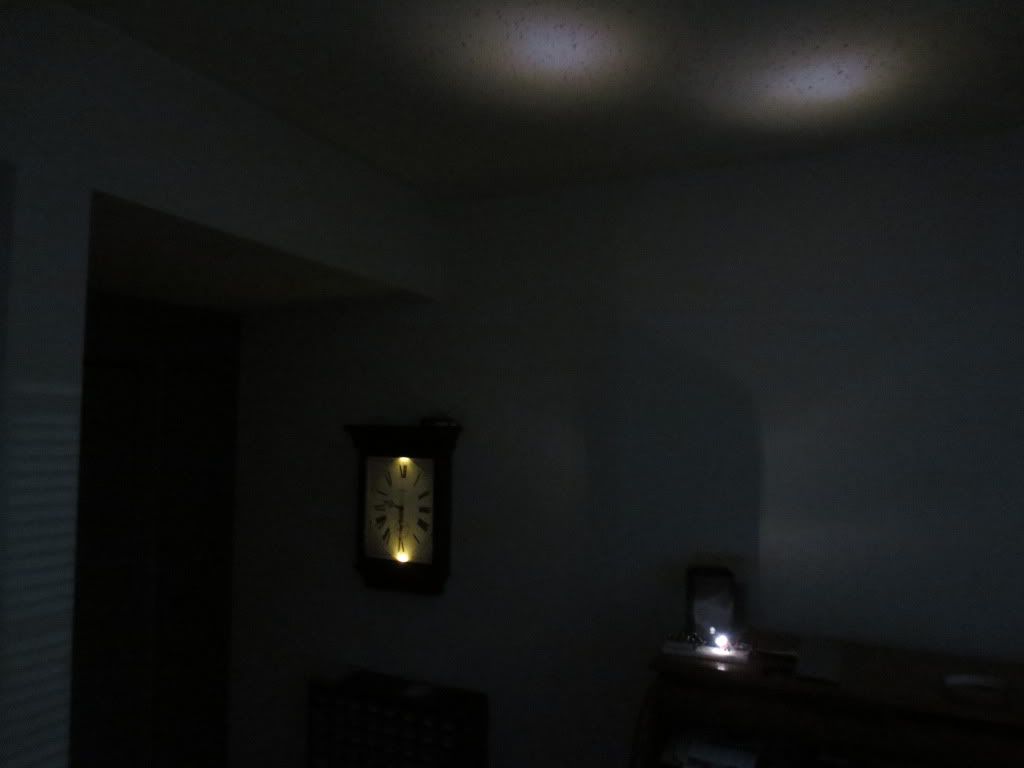
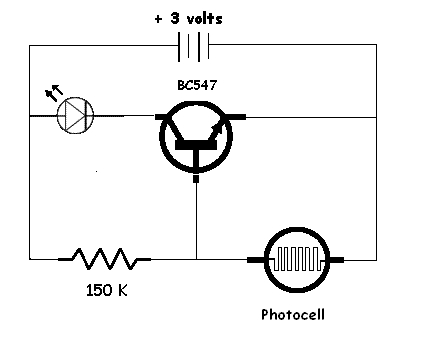
Also I could add a photocell transistor circuit to turn the candles on at darkness like I did my clock.
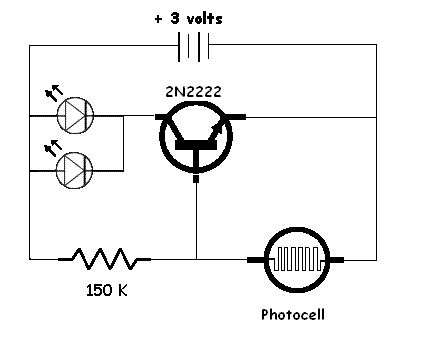
The photocell should be able to see light through the candle without having to drill a mounting hole.
I could even use the test plug connector board to hold the LDR and transistor in place. There is a lot of room!
Just aim the plug hole side toward the room light...
Imagine 3 volt candles turning on at night and lasting a month...